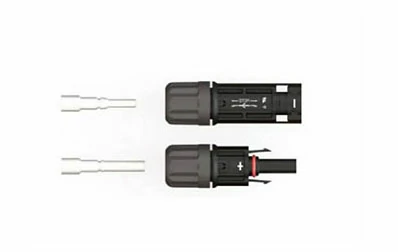
Common Causes of Solar Connector Failure and How to Fix Them


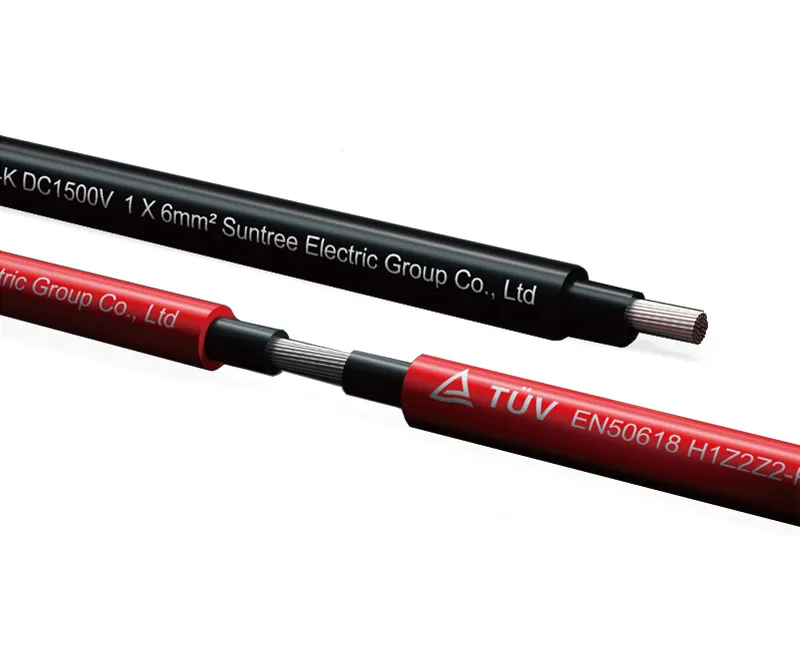
A 500 kWp solar project catches fire six months after commissioning. The root cause is not the panels or the inverter—it is a single Solar Connector crimped with slip‑joint pliers rather than a proper crimping tool. This story is not unusual. Data from European fire investigations show that connectors were implicated in 24‑27% of solar‑related fires. In Germany, connectors caused 24% of 180 PV‑related fires between 1995 and 2012. Each connector failure can take a full string offline, with median repair downtime of 191 hours. A Solar Connector failure is rarely a mystery—it follows predictable patterns: overheating from a poor crimp, corrosion from water ingress, or arcing from mismatched brands. This guide walks through the three most common failure modes, how to identify each in the field, and the practical fixes that restore reliability without rewiring entire arrays.
Poor Crimping – the #1 Overheating Risk
The single most common cause of Solar Connector failure is a crimp that was never properly made. A poor crimp creates high contact resistance at the metal‑to‑metal interface. When current flows, the joint generates heat according to P = I²R. At 8 A through a 50 mΩ joint, that is 3.2 watts of heat concentrated in a few square millimeters, raising the contact surface temperature above 150 C. The plastic housing softens, the seal degrades, moisture enters, corrosion accelerates, and resistance climbs further—a self‑feeding cycle that ends in melted housing or fire.
Symptoms of a poor crimp include: Intermittent string operation (connector works sometimes, fails others), connector body that feels hot to the touch under normal sunlight, visible discoloration or melting around the crimp barrel, and irregular voltage readings that cannot be traced elsewhere.
How to diagnose. Measure contact resistance across the mated connector pair using a milliohmmeter. A reading above 0.5 mΩ is suspect; readings above 1 mΩ indicate a failed connection. Perform a pull test on the crimped cable. IEC standards require a minimum pull force of 310 N for a 4 mm² (approx. AWG 12) solar cable. If the cable pulls out of the crimp terminal under moderate hand force, the crimp has failed.
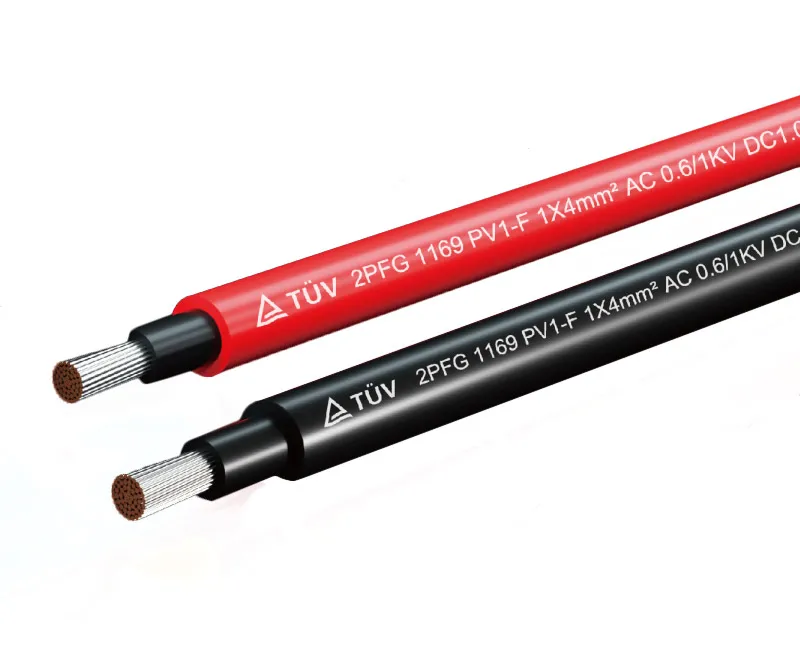
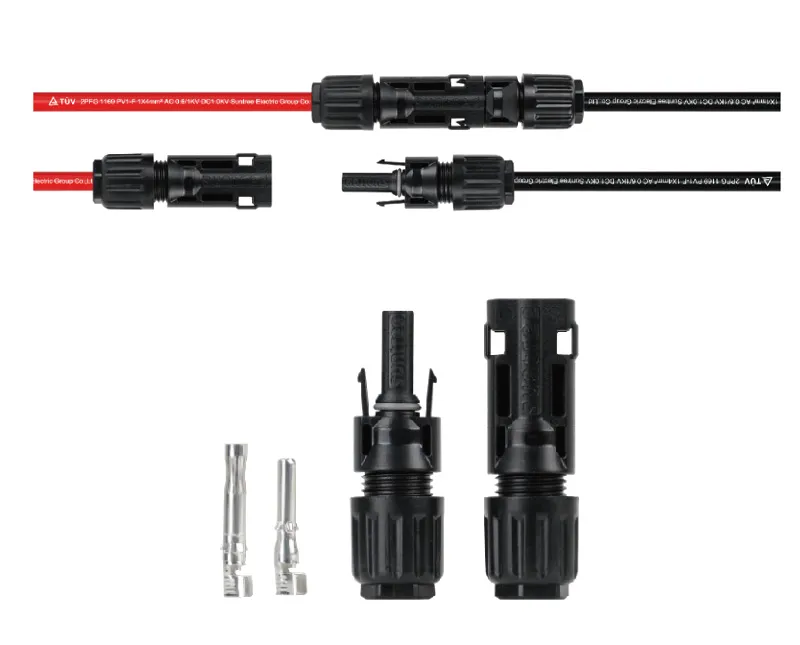
The fix. Cut off the damaged connector, strip the cable to the specified length (6–8 mm for most MC4‑compatible connectors), and recrimp using a ratcheting crimp tool with hexagonal dies and at least 1,500 lbs of crimping force. Never use pliers, standard wire strippers, or non‑spec tools. After recrimping, perform another pull test to confirm the connection holds.
Water and Moisture Ingress – the Corrosion Failure
Water ingress is the second most common failure mechanism—and the most deceptive because the damage may take months to appear. Connectors are rated IP67, meaning they are dust‑tight and protected against temporary submersion. But that rating only holds when the connector is properly assembled and the sealing components are intact. Common causes of water ingress include missing or damaged O‑ring seals, cable gland nut not tightened to the specified torque (2.5–3 N·m), cracked connector housing from UV exposure, improper cable stripping (insulation pushed into the seal area), or connectors left unmated in the field, allowing dirt and moisture to enter the exposed halves. Once moisture enters, galvanic corrosion begins at the contact interface, increasing resistance and generating heat. The corrosion can also migrate along the stranded copper conductor, damaging cable sections beyond the connector itself.
Symptoms of water ingress include: visible green or white oxidation on contact pins, erratic string readings that fluctuate with humidity or rainfall, intermittent ground fault alarms, and connector body that feels warm even under light load. Field reports show that 79 % of identified high‑risk connector issues exhibit no detectable thermal anomaly at the time of inspection—meaning connectors can be on the verge of failure without any thermal warning. High‑resolution visual inspection of the connector body, seal condition, and pin surface is therefore critical.
The fix. For minor corrosion (light discoloration without pitting), disconnect the pair, clean the contact pins with electrical contact cleaner and a soft brush, inspect and replace damaged O‑rings, reassemble, and torque the gland nut to 2.5–3 N·m. For severe corrosion (pitting, green crust, or blackened contacts), cut off the entire connector and replace it with a new one. In cases where corrosion has traveled up the cable, cut back the cable until clean, bright conductor is visible before installing a new connector. Never apply dielectric grease to the contact pins themselves—it acts as an insulator. Instead, use a small amount of non‑conductive silicone grease on the O‑ring seal only.
Mating Incompatible Brands – the Invisible Arc
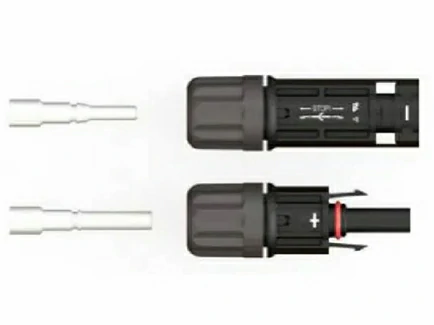
Different manufacturers design their connectors to the same basic specifications, but pin diameter tolerances, contact spring force, and locking mechanism geometry vary. When a connector from Brand A is mated with a connector from Brand B, the fit may be mechanically acceptable but electrically compromised. The male pin may be slightly undersized, the female contact spring may apply insufficient force, or the locking clip may not fully engage. The result is intermittent contact, micro‑arcing, and rapidly increasing contact resistance.
Symptoms of brand incompatibility include: random string tripping with no apparent cause, voltage fluctuations that disappear when the connectors are wiggled, melted connector housings at the mating interface (not at the crimp), and connectors that mate with less audible “click” than usual.
Why it happens. Even if connectors are advertised as “MC4‑compatible,” the critical dimensions vary. Pin diameter tolerances differ by up to 0.2 mm between manufacturers. A pin that is 0.1 mm undersized creates a loose fit; the contact spring cannot compensate, and the contact points are reduced from a full surface to a few small spots. The current concentrates at those points, generating localized heating that may not be detected by thermography until failure.
The fix. The only reliable solution is to replace the entire string’s connectors with a single brand. Never mix brands on the same string. If budget constraints prevent a full replacement, use a manufacturer‑approved adapter that has been tested for compatibility, but understand that each additional connection introduces another potential failure point. For new installations, specify that all connectors must be from the same manufacturer, and document brand information on the as‑built drawings.
Diagnosing a Failing Connector in the Field
Field diagnosis combines visual inspection, electrical measurement, and—when available—thermal imaging. However, thermal imaging alone is insufficient: 79 % of high‑risk connector issues show no detectable thermal anomaly at the time of inspection. High‑resolution visual inspection of connector housings, seals, and contact pins must complement any thermographic scan. The IEA recommends performing thermography in early morning or late afternoon when solar radiation is low, to improve detection sensitivity.
Use a milliohmmeter to measure contact resistance across mated connector pairs. A reading below 0.5 mΩ is acceptable. Readings between 0.5 and 1 mΩ warrant scheduled replacement; readings above 1 mΩ indicate immediate replacement required. Perform a visual inspection checklist: Are the locking clips fully engaged? Is the cable gland nut tight? Any cracks, discoloration, or melting on the housing? Any corrosion on the pins? Any insulation shrink‑back exposing conductor near the crimp? If the connector housing is cracked or melted, the entire assembly must be replaced. If the locking clip is broken but the housing is intact, replacement is still necessary—a connector that can vibrate apart is a safety hazard.
Preventive Measures for Long‑Term Reliability
Crimp pull test after every termination. Immediately after crimping, before assembling the connector housing, perform a pull test. Secure the crimp terminal and pull the cable with moderate force. If the cable moves or pulls out, the crimp has failed. Recrimp or cut and restart. Record pull test results in a quality log.
Torque the gland nut to specification. Use a torque wrench or calibrated screwdriver set to 2.5‑3 N·m. Hand‑tightened nuts loosen over thermal cycles and allow moisture ingress. Under‑tightening compromises the seal; over‑tightening can crack the plastic housing.
Keep a connector replacement log. Record the date, location, failure mode (overheating, corrosion, mechanical damage), and corrective action for every replaced connector. This log helps identify recurring issues with specific equipment or installation practices and supports warranty claims when connector batches have manufacturing defects.
For new builds: pre‑crimped cables reduce risk. Factory‑pre‑crimped cables remove the most error‑prone field process. The crimp is performed in a controlled environment with calibrated equipment and includes a documented pull test. For large projects, the marginal cost increase is quickly recovered in reduced commissioning failures and lower O&M spend over the first year.
Questions from the Field
Q: Can a burned solar connector be repaired or must it be replaced?
A: Replace immediately. A connector with melted housing, carbonized pins, or visible arc damage cannot be reliably repaired. The plastic has lost its mechanical and dielectric properties, and the contact surface is permanently degraded. Cut it off, strip fresh cable, and install a new connector.
Q: How often should connectors be inspected in a desert PV farm?
A: At least once every six months, or quarterly during sandstorm seasons. Desert environments accelerate UV degradation of connector housings and abrasive wear from wind‑blown sand. A 2024 NREL study analyzing over 50,000 O&M tickets found that each connector failure takes a full string offline, with mean replacement downtime of 1,579 hours. Regular inspection is significantly less expensive than string downtime.
Q: What is the correct torque for a solar connector coupling nut?
A: Tighten the cable gland nut to 2.5–3 N·m. Over‑tightening can crack the plastic housing; under‑tightening compromises the IP67 seal. Use a torque tool, not hand feel.
Q: Can aluminum solar cable be used with standard copper connectors?
A: Not directly. Aluminum and copper have different thermal expansion rates and form galvanic cells when directly connected, leading to increased contact resistance and corrosion. Safety regulations prohibit direct aluminum‑to‑copper connection. The PMCN Connectors for Al cables from Suntree are specifically engineered to accommodate aluminum conductors, minimizing contact resistance and reducing the risk of thermal hotspots, while ensuring compatibility with standard copper components.
When to Replace vs. Repair
Repair when: minor surface oxidation is present without pitting, the housing and seals are intact, the connector has never overheated, and a pull test confirms proper crimp retention. Clean the contacts with electrical contact cleaner, replace O‑rings if damaged, reassemble, and torque to spec.
Replace when: any visible melting or cracking of the housing appears; the contact pins show pitting, deep discoloration, or carbonization; the locking clip is broken or does not engage with a crisp click; the cable gland nut cannot be torqued to spec without the housing deforming; the connector has been involved in an arc event; or a pull test fails. In these cases, cut back to clean cable and install a new connector. For every $2 connector that fails, the potential cost includes string downtime, lost production, and fire risk.
Proactive replacement schedule. For connectors in high‑stress environments (desert heat, coastal salt spray, high vibration), consider proactive replacement every 5‑7 years, or earlier if annual inspection shows seal hardening or contact wear exceeding 20% of original material thickness.
Connectors Designed for Demanding Environments
When a Solar Connector must withstand years of field service without developing the failures described above, the engineering behind the connector—from contact material to sealing design to compatibility engineering—determines long‑term reliability. Suntree manufactures the PMCN Connectors for Al cables, specifically engineered for photovoltaic systems where aluminum conductors are used for cost‑effective cable runs. These connectors are designed for compatibility with both copper and aluminum conductors, minimizing contact resistance and reducing the risk of thermal hotspots. They feature IP67‑rated sealing for outdoor durability, UV‑resistant housing materials rated for 25+ years of outdoor exposure, and compatibility with standard MC4‑style locking mechanisms and disconnect tools. Suntree’s engineering ensures that the critical interface—pin diameter, contact spring force, and sealing geometry—meets or exceeds industry standards, reducing the failure modes that plague field‑assembled systems. For operators managing large‑scale PV plants, using connectors that are purpose‑built for the conductor type and environmental conditions is the single most effective preventive measure against connection failures.
→ Request a quote from Suntree for the PMCN Connectors for Al cables — Share your project type (utility, commercial, residential), conductor gauge and material (copper or aluminum), and environmental conditions. Their technical team can recommend the right connector configuration and provide torque specifications for your specific cable.